Week 2
Weekly Goal
- Complete fabrication-related training and get more familiar with the resources available at NYU.
- Start learning the basic workflow of 3D printing.
- Try 3D printing as a possible prototyping skill for future Level the Curve work.
- Learn through hands-on practice instead of only reading or watching tutorials.
What I Worked On
This week, I focused on getting more familiar with the fabrication resources available at NYU and started exploring 3D printing as a possible skill that could be useful for Level the Curve and future EAT projects.
.JPG)
What I Did
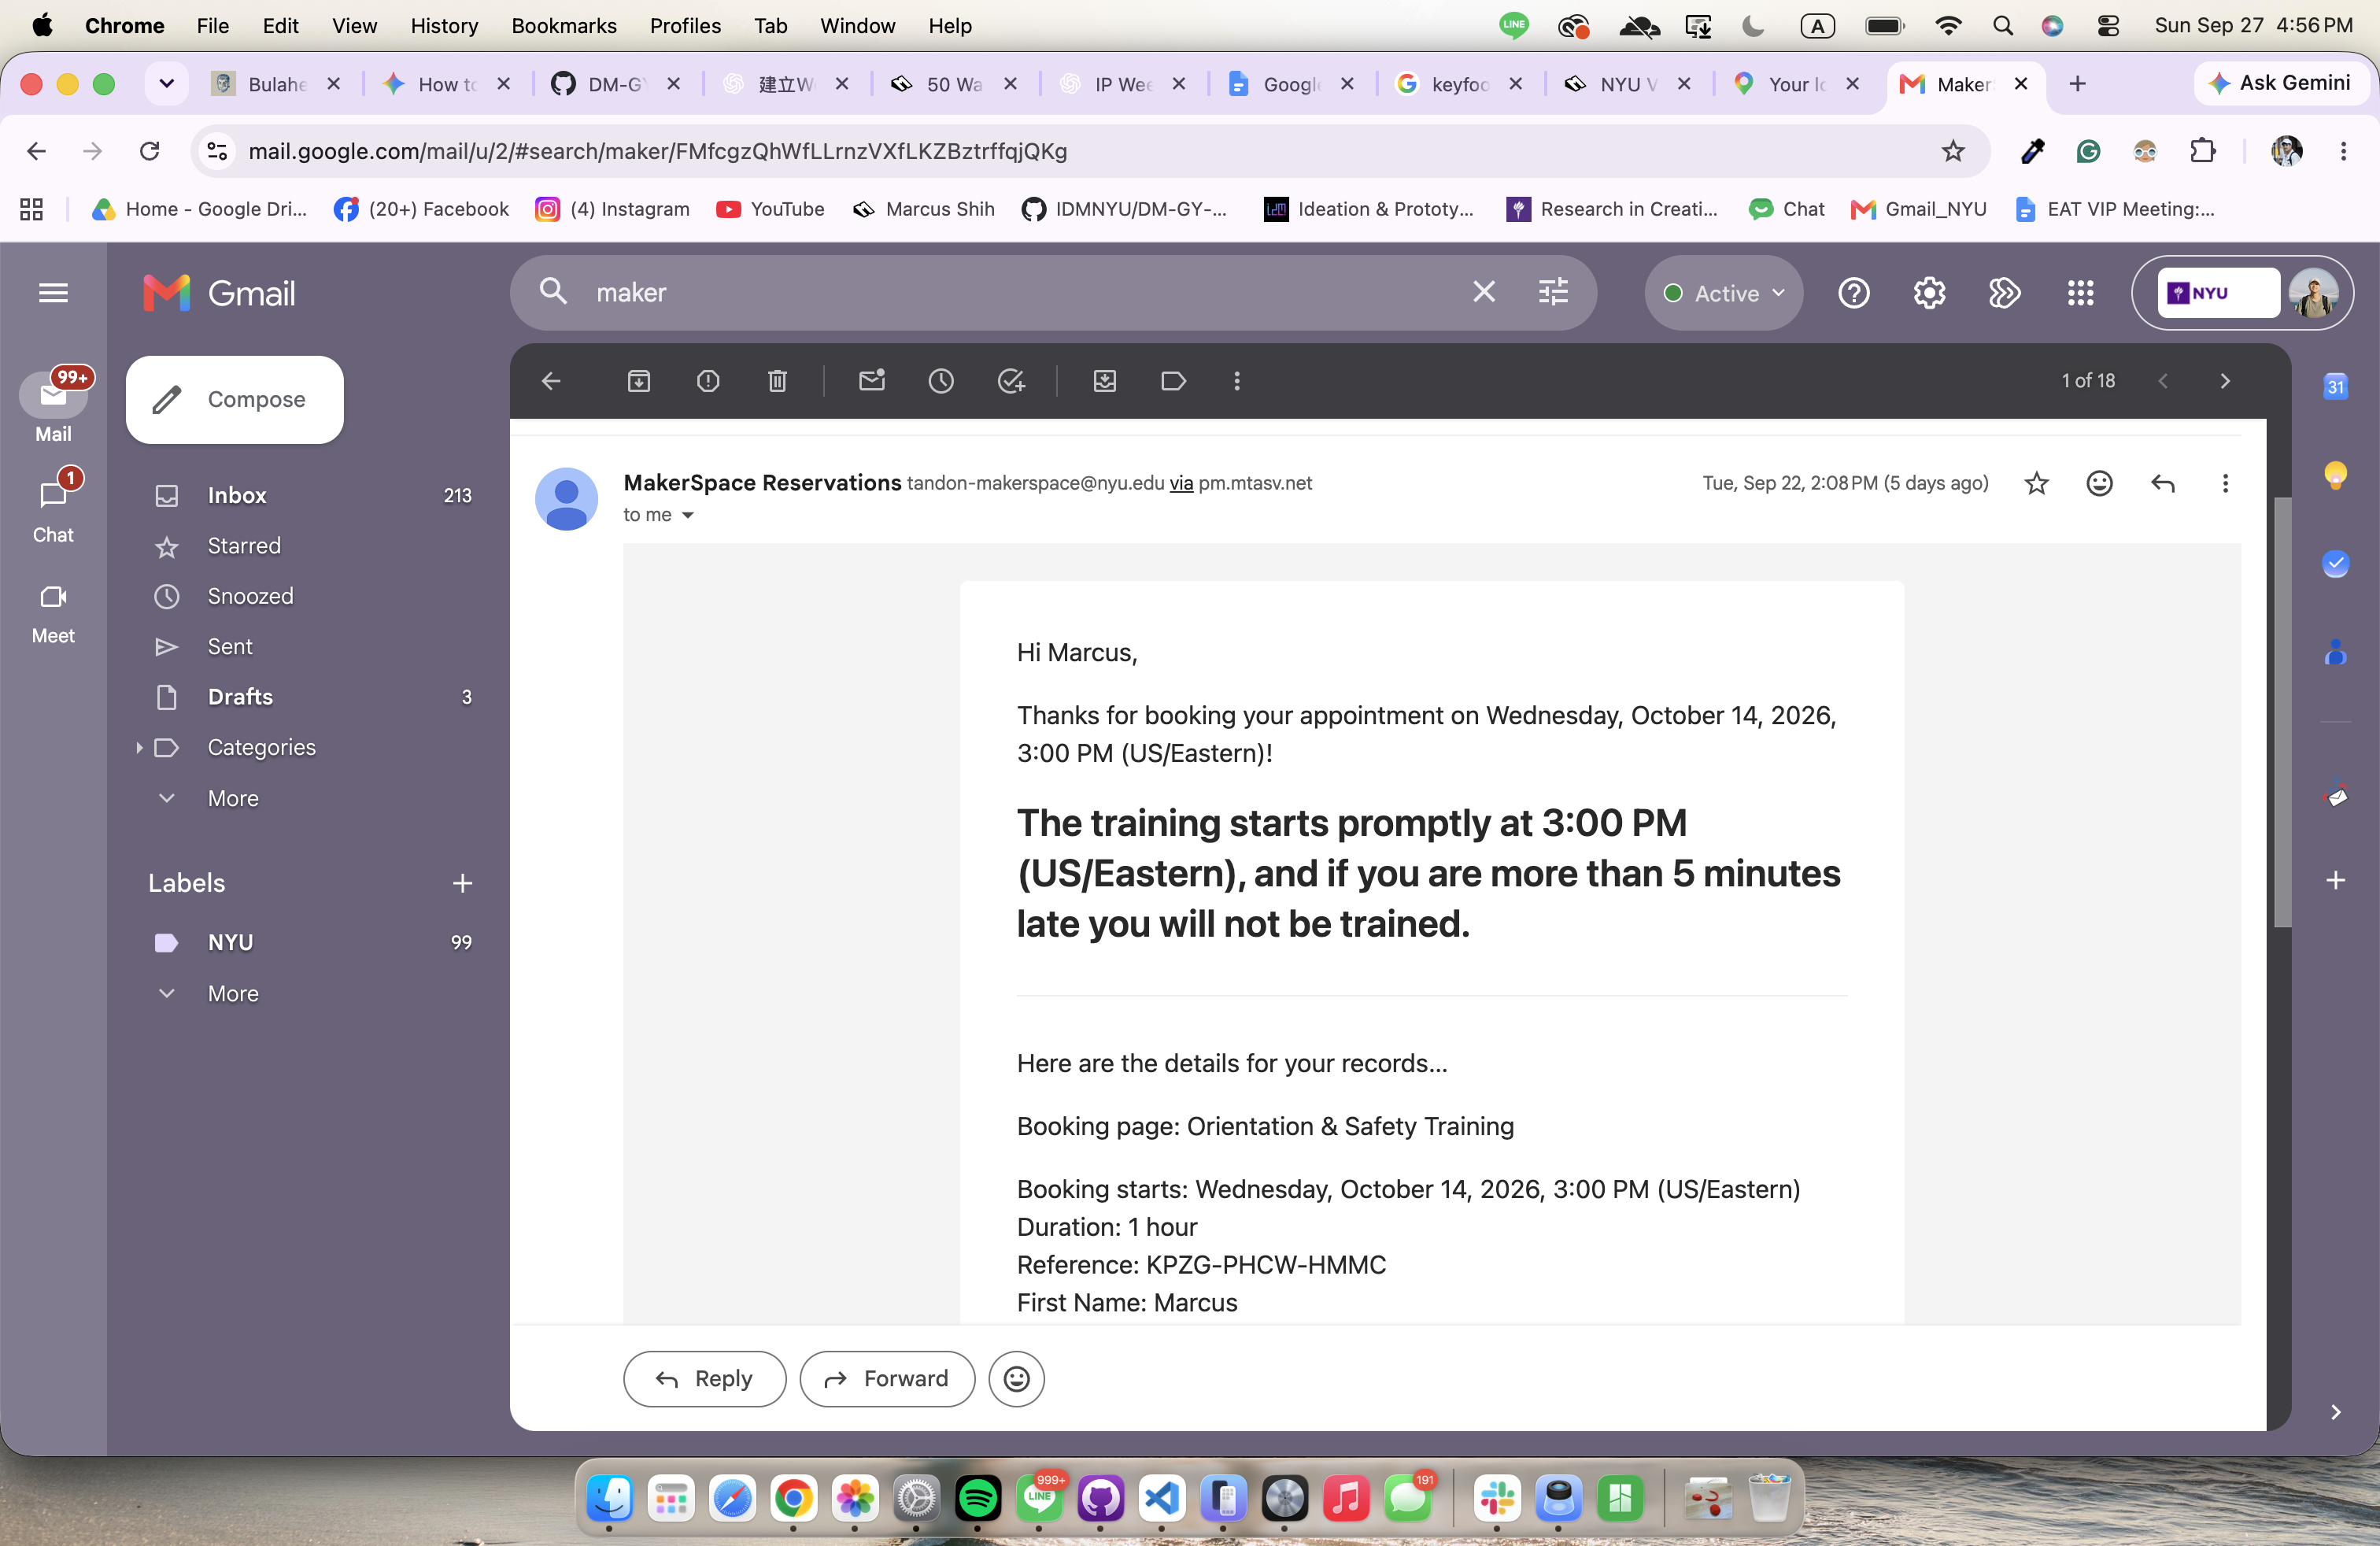
I signed up for the Tandon MakerSpace orientation training, which is scheduled for October 14.
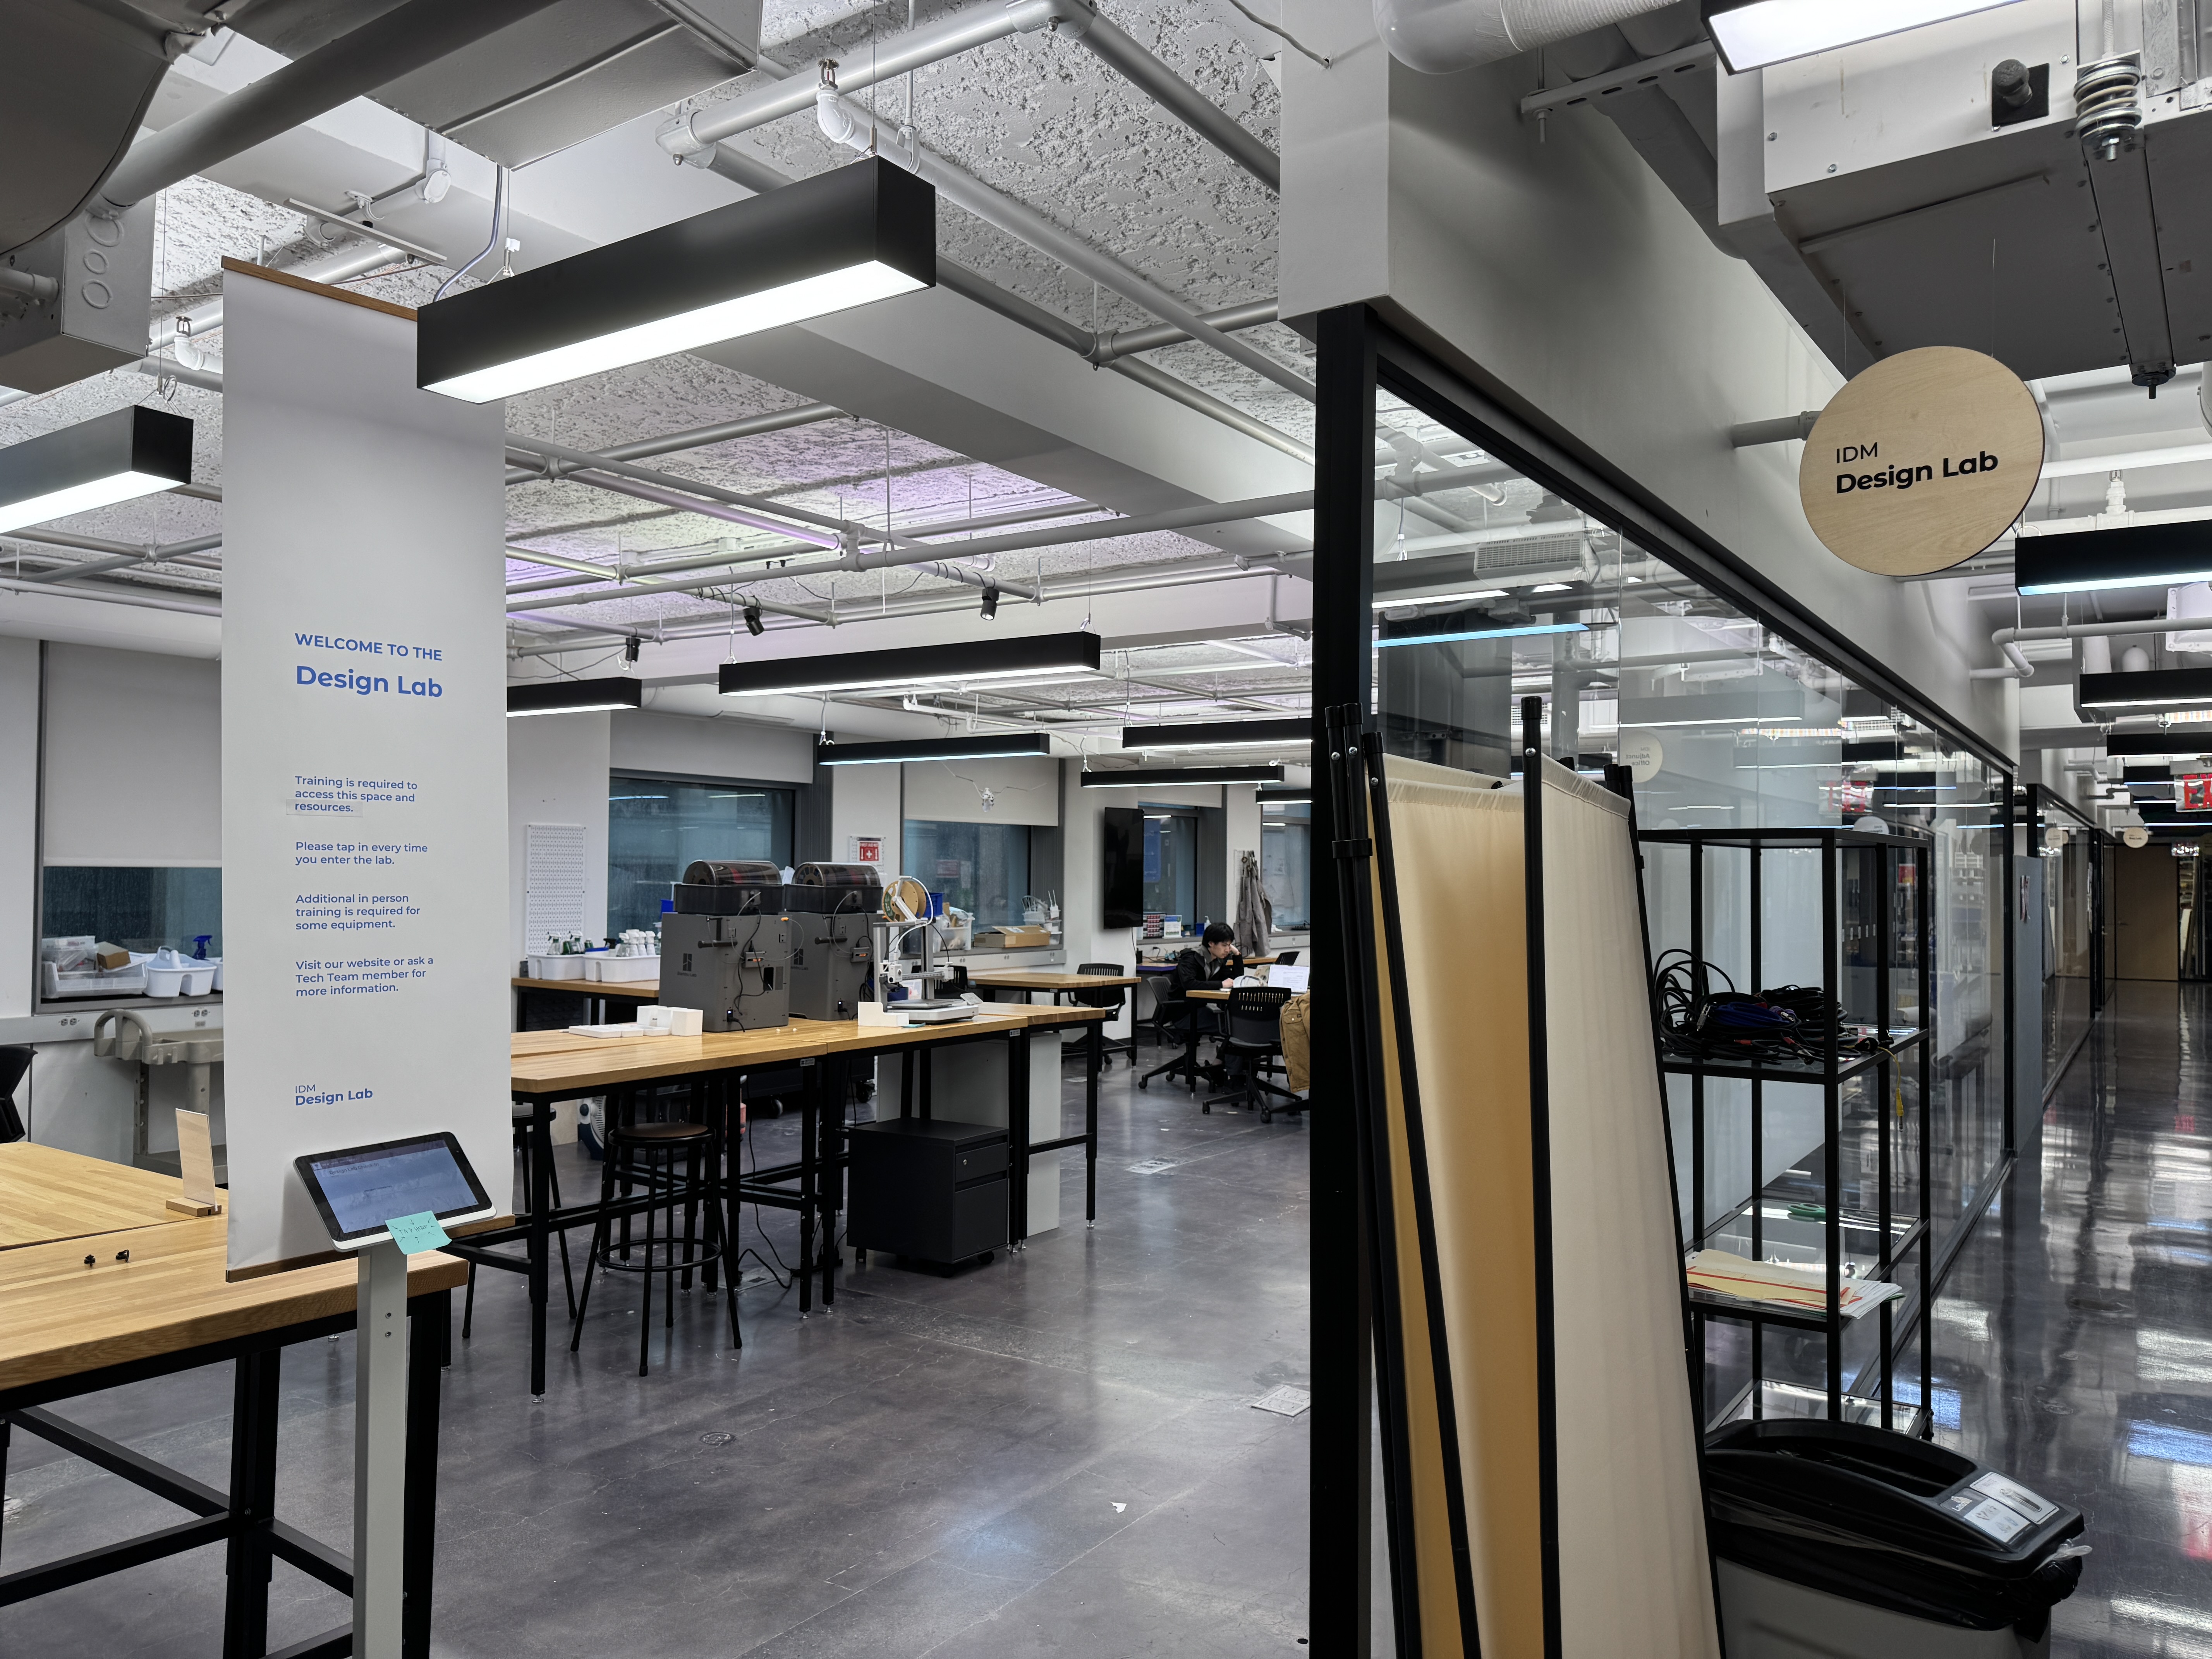
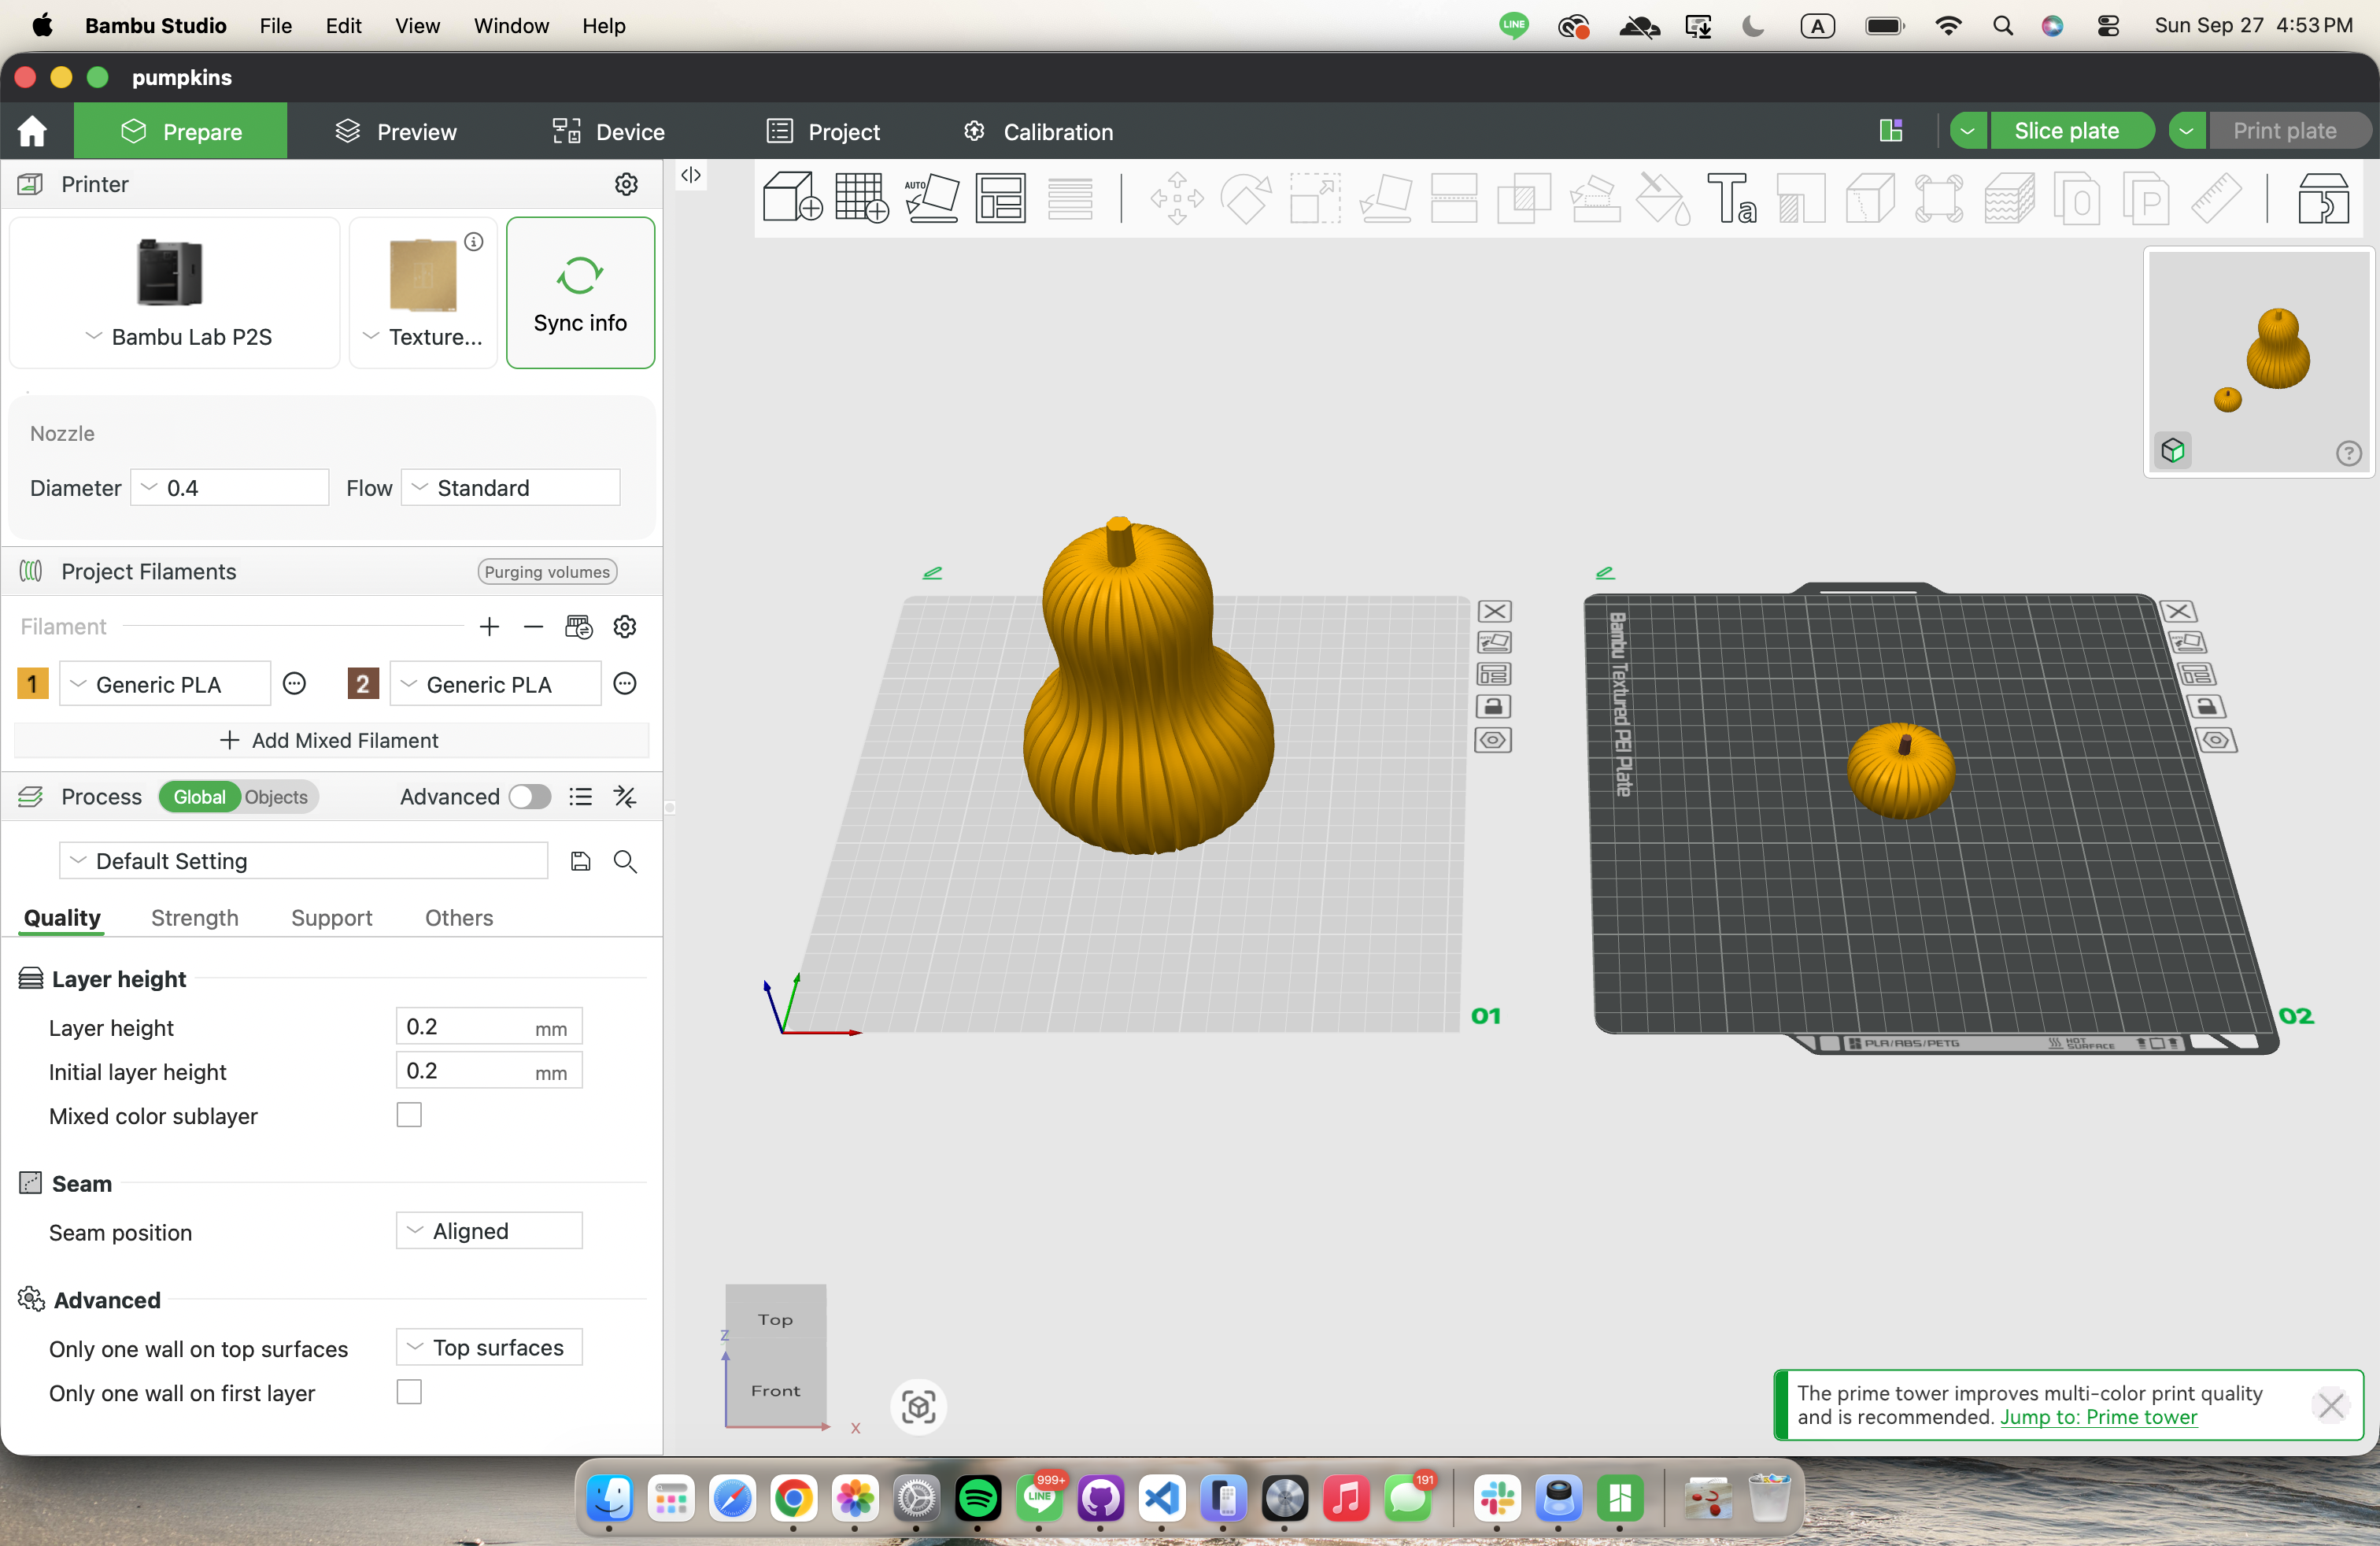
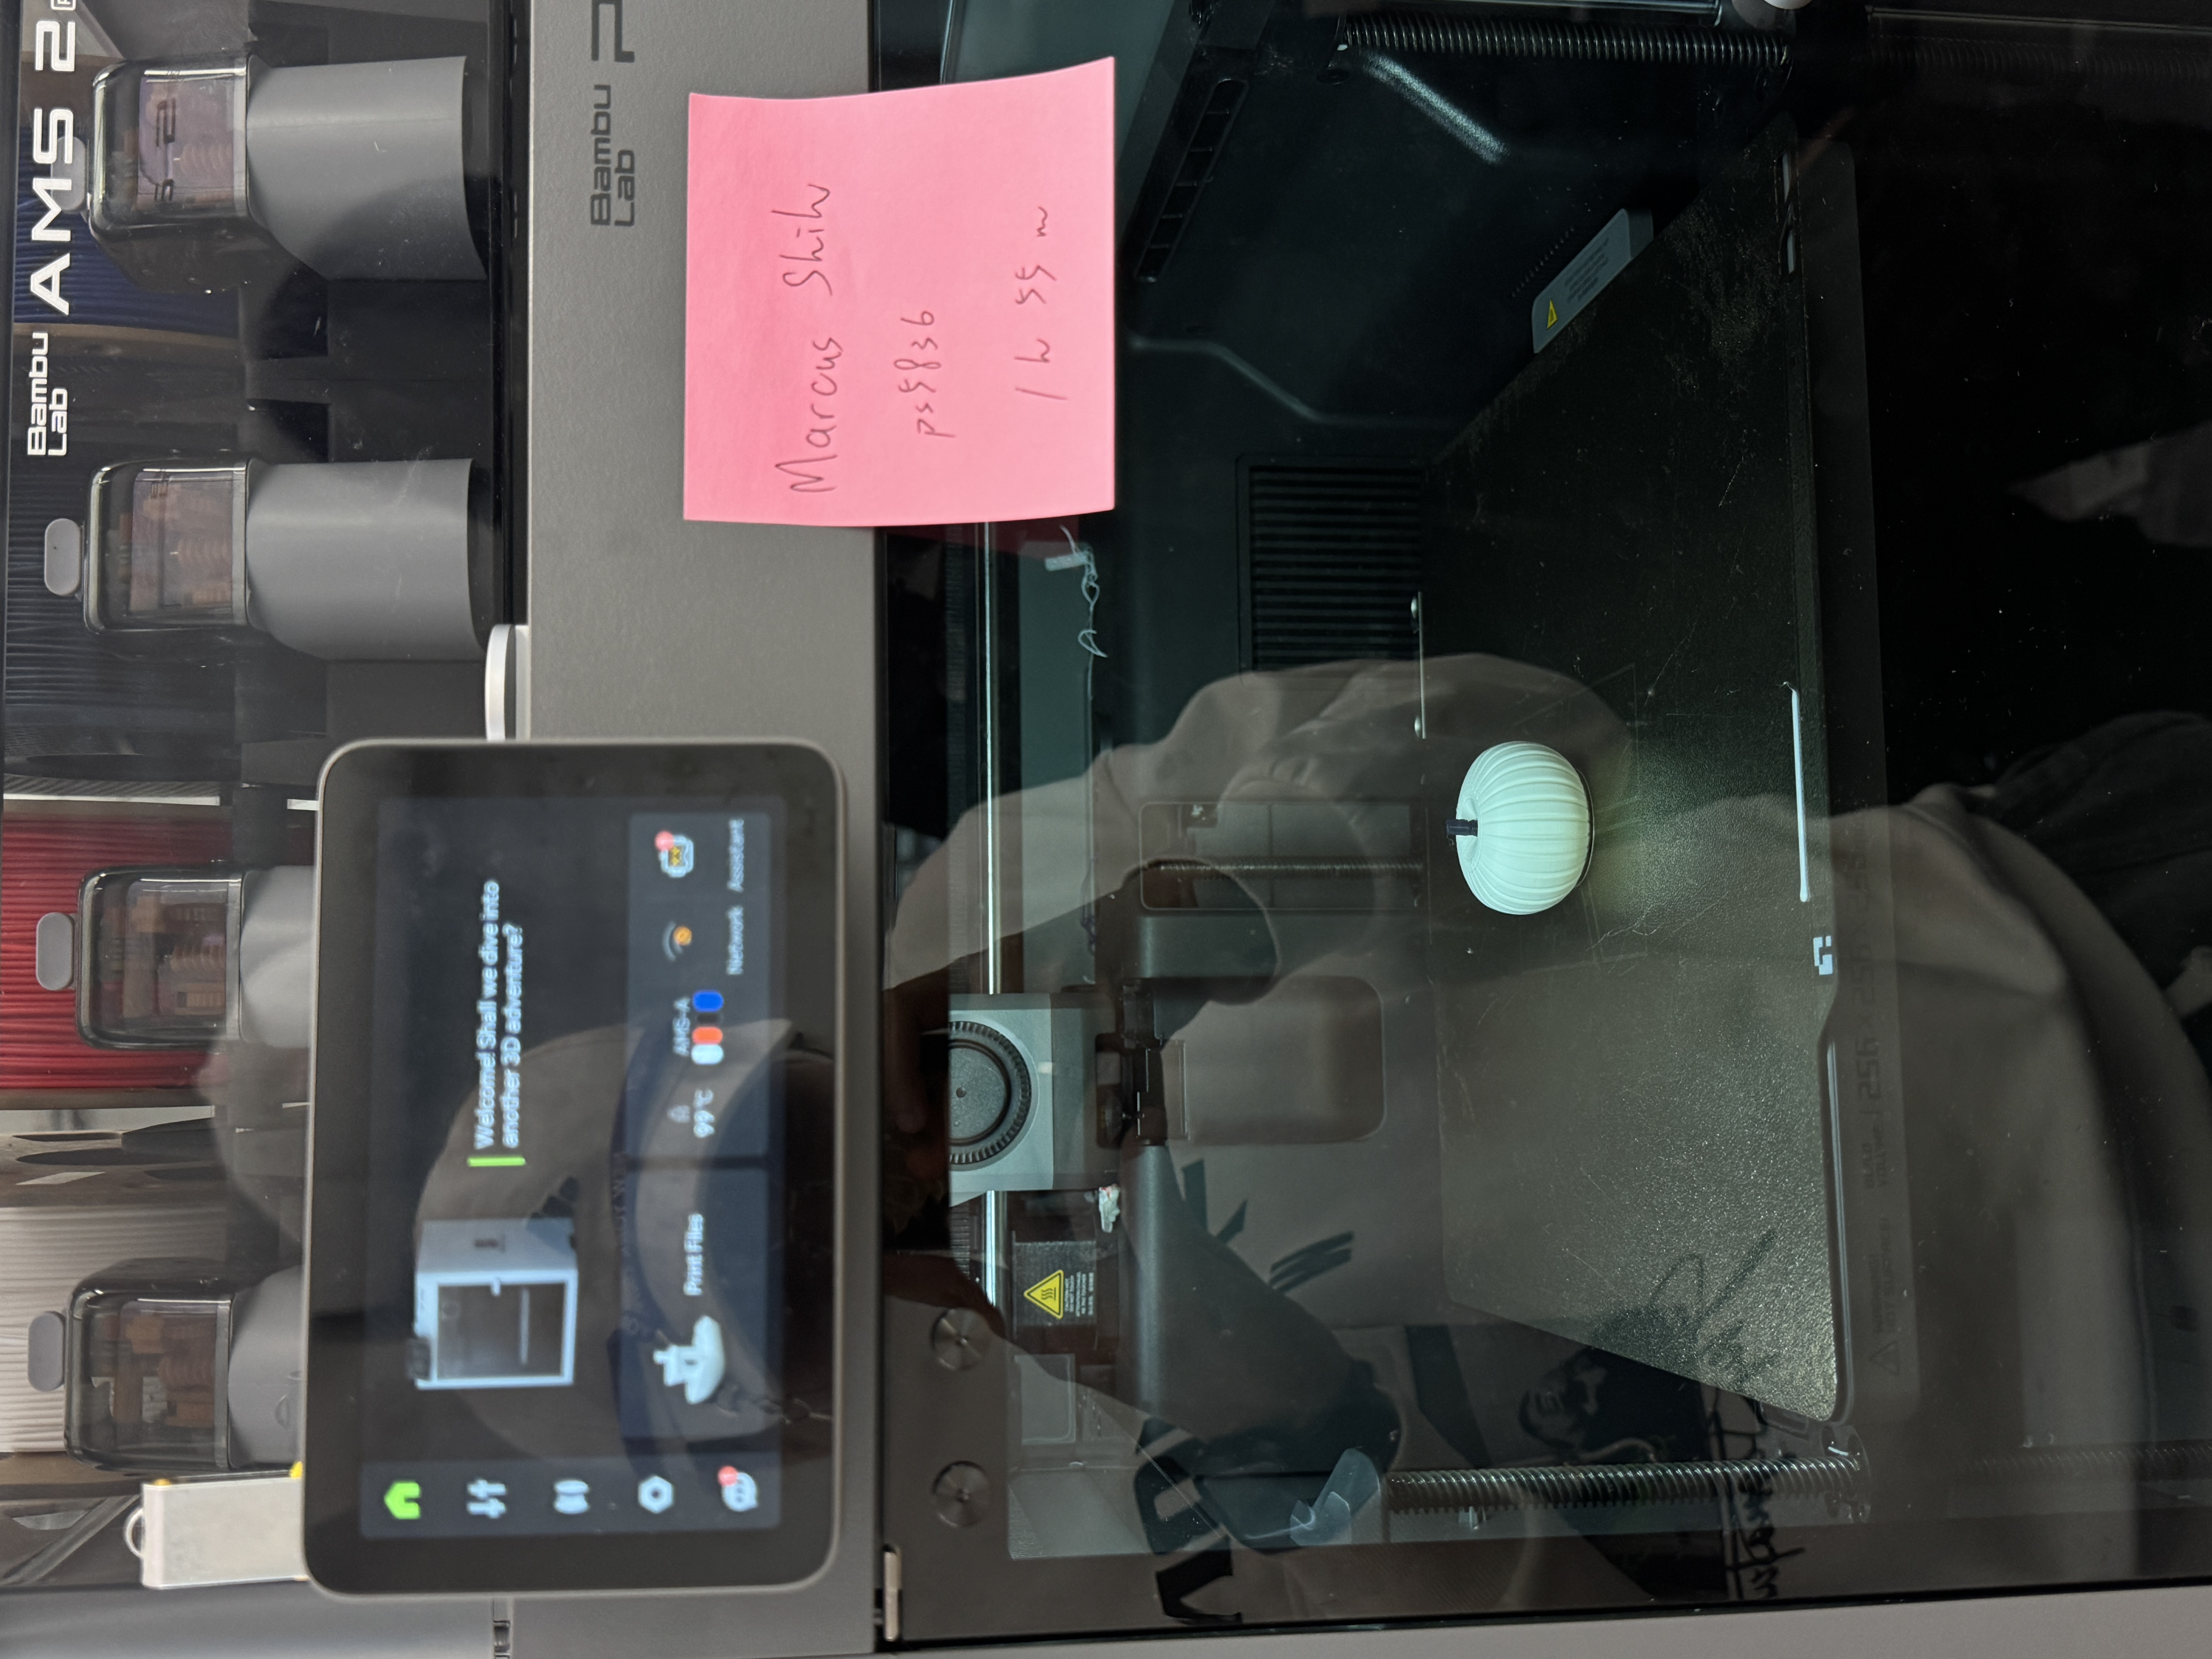
I also completed the Design Lab orientation training in IDM and started experimenting with 3D printing using a Bambu Lab P2S printer.
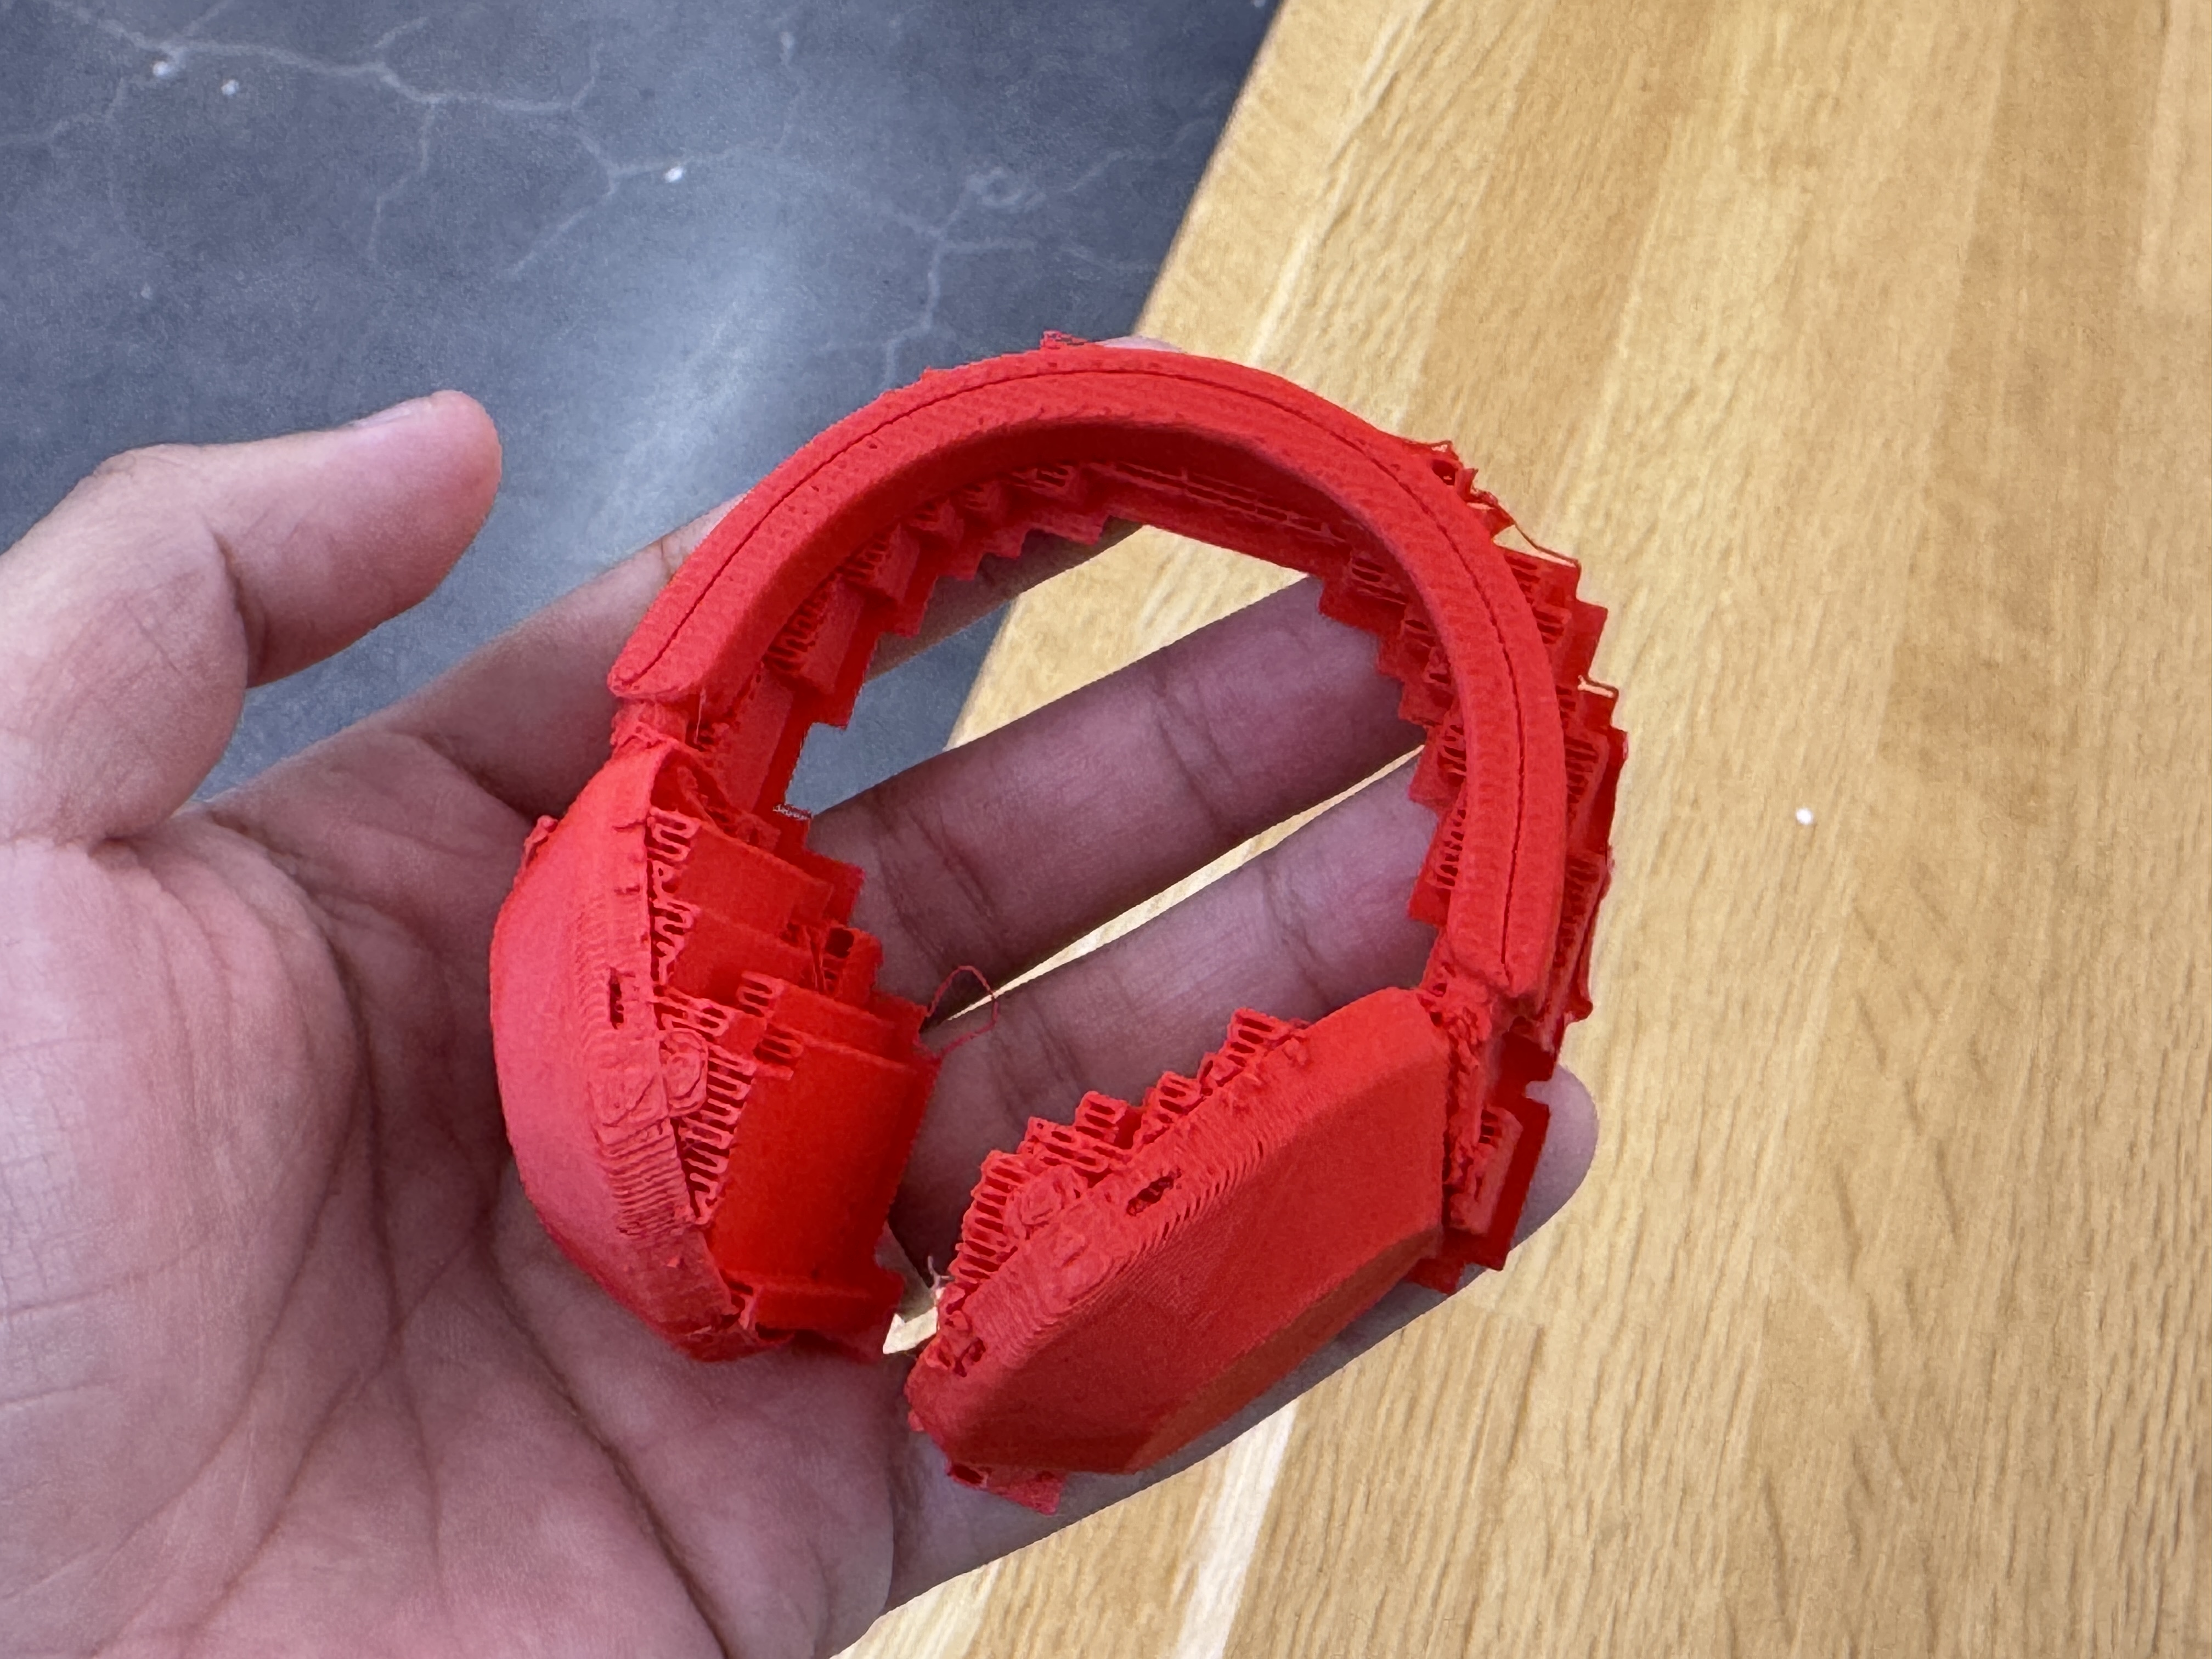
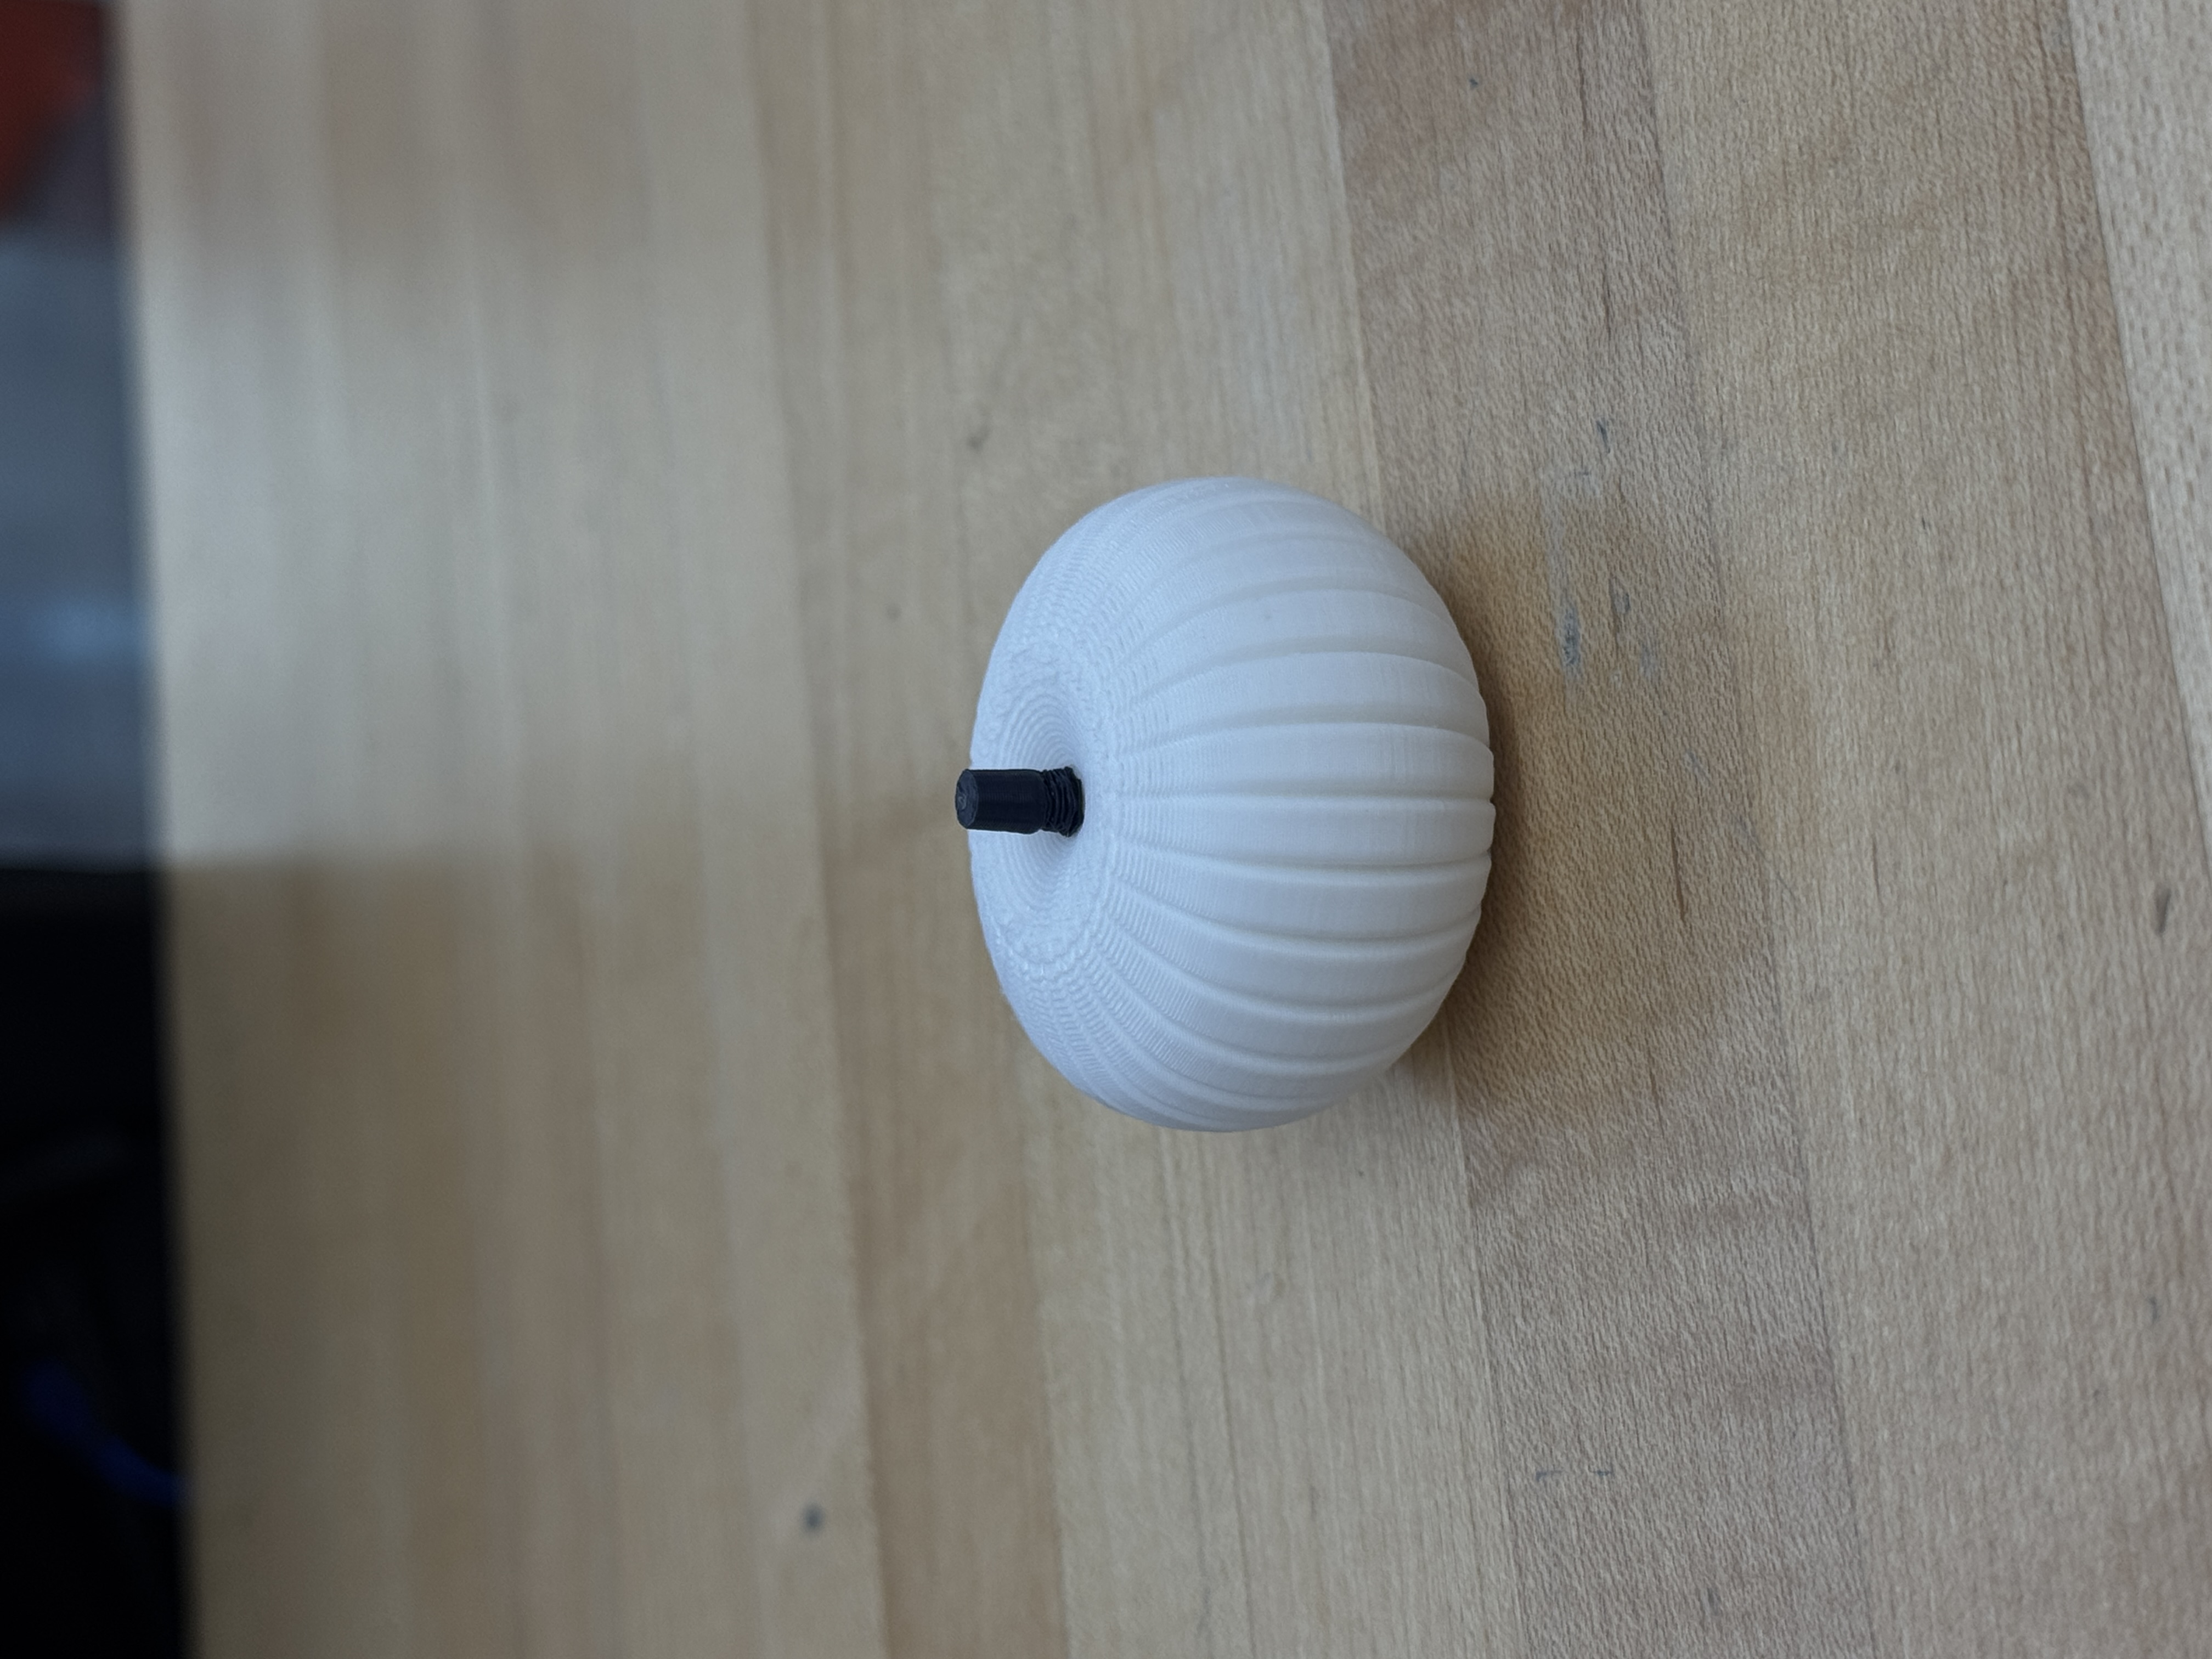
I downloaded two existing 3D models, a small pumpkin and a headphone model, and made some modifications before printing them.
The pumpkin took around 1 hour and 50 minutes to print, while the headphone model took around 2 hours and 55 minutes. Because IDM has a limit on how long we can use the printer for each print, I adjusted the scale of the models so they could be completed within the allowed time.
The headphone model had a more irregular shape and could not sit completely flat on the print bed, so I also had to add support material.
Since I had almost no previous experience with 3D printing, I asked the Design Lab student staff for help with things I was unfamiliar with, including model preparation, support, scale, and print settings.
What I Learned
Before this week, I thought 3D printing was a very complicated process. After actually trying it, I realized that the basic workflow was much easier to understand than I expected.
At the same time, I learned that there are still many decisions to make before printing. Things like scale, orientation, support, and print time can affect whether a model can actually be printed successfully.
I was also surprised by how detailed the printed objects could be, even at a relatively small size.
One limitation I noticed was the material and color selection available in the Design Lab. I was not able to print the objects in the colors I originally wanted. One of the Design Lab staff suggested that I could print the model in white and paint it afterward, which is something I may try in the future.
Challenges / Questions
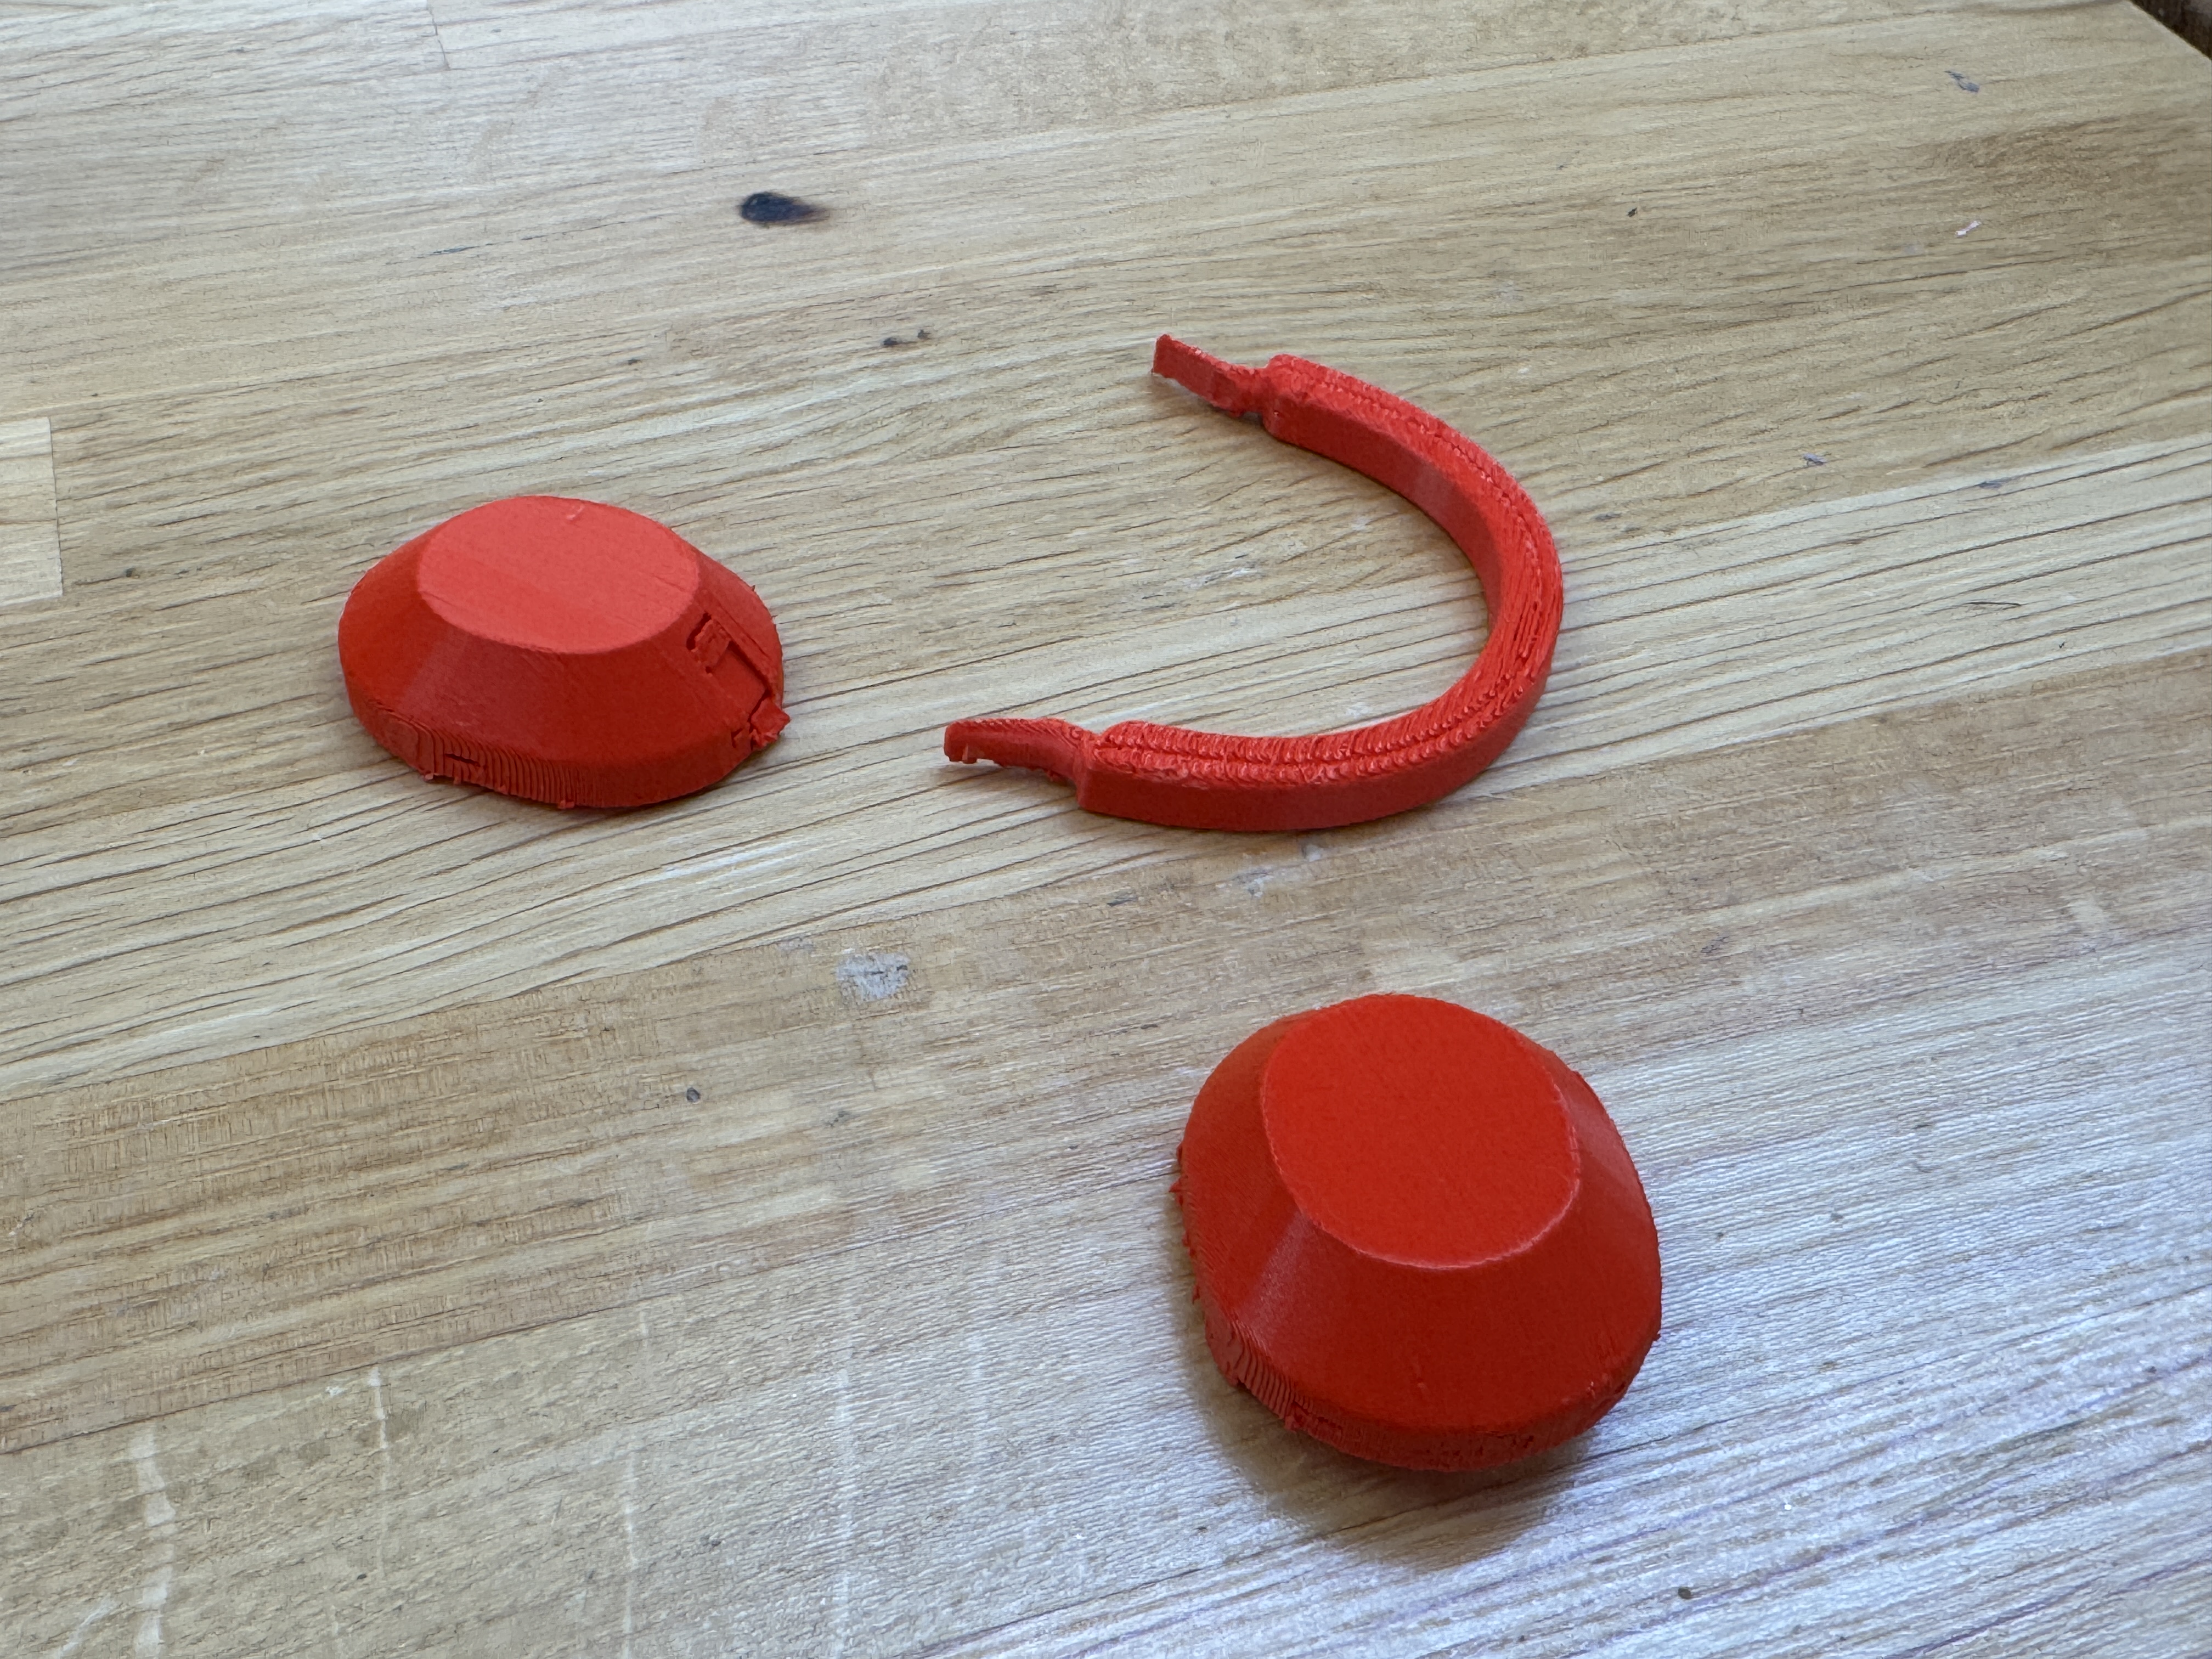
One of the main challenges this week was learning how to prepare a model so that it could be printed successfully within the limitations of the Design Lab. I had to think about print time, scale, orientation, and support at the same time. The headphone model also showed me that even when the printing process itself is successful, removing the support can still damage the final object. The two ear cups separated from the headband while I was removing the support, which made me realize that post-processing is also an important part of 3D printing.
- How can I choose a better print orientation for irregular or complex models?
- How much support is actually necessary, and how can I make it easier to remove?
- How can I keep the model strong enough while still reducing print time?
- How much can I scale down a model before the details or structure become too weak?
- How can I avoid damaging thin or fragile parts during post-processing?
- How can I work around the limited filament color options in the Design Lab?
Reflection
This week was mainly about trying something new that could eventually become useful for Level the Curve.
I had almost no knowledge of 3D printing before this, so I expected the process to be much more complicated. After going through the workflow and asking for help in the Design Lab, I found it much more approachable than I expected.
At first, I thought the headphone print had gone well because the print itself finished without any problems. However, when I removed the support, the ear cups separated from the headband. This showed me that a successful print does not always mean a successful final object. The design, support placement, thickness of the parts, and post-processing all matter.
It also helped me understand why 3D printing is useful for assistive technology. It seems especially useful for quickly creating parts such as brackets, adapters, holders, or early prototypes before making a more finished version.
Even though the headphone model broke, I think it was actually a useful part of the learning process because it showed me what I need to pay more attention to next time.